

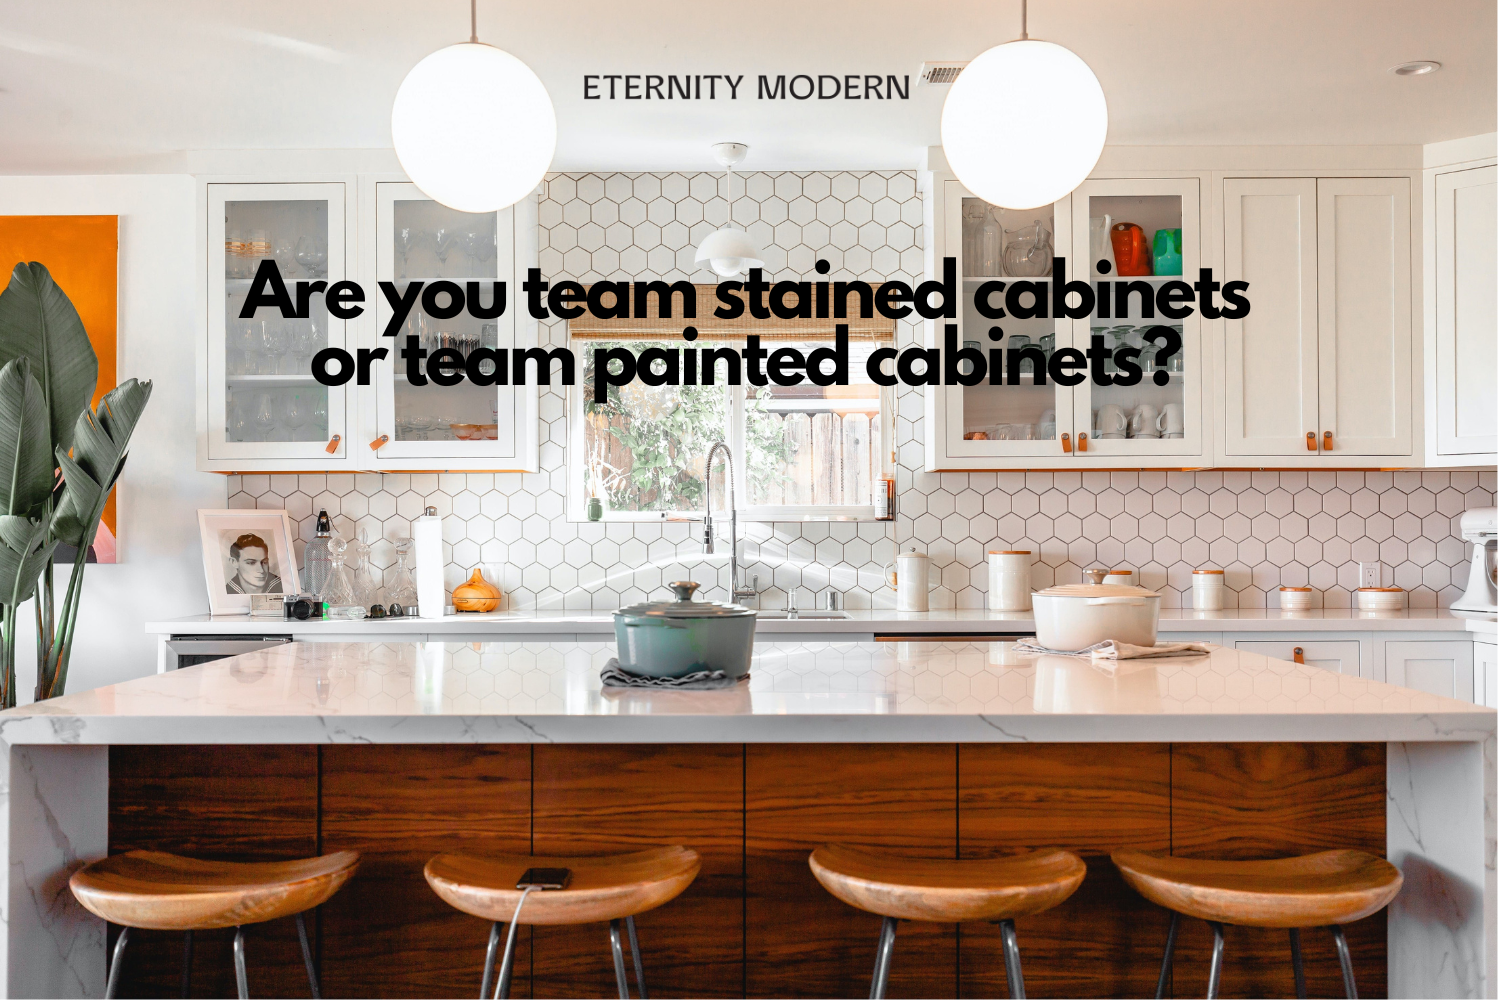
Cabinets are a crucial aspect of any kitchen or bathroom renovation. They not only provide storage but also add to the overall aesthetic of the room. One decision that homeowners often face when updating their cabinets is whether to paint or stain them. Both options have their pros and cons, and it ultimately comes down to personal preference. In this blog post, we will compare stained wood cabinets to painted cabinets and discuss how to properly maintain and update each.
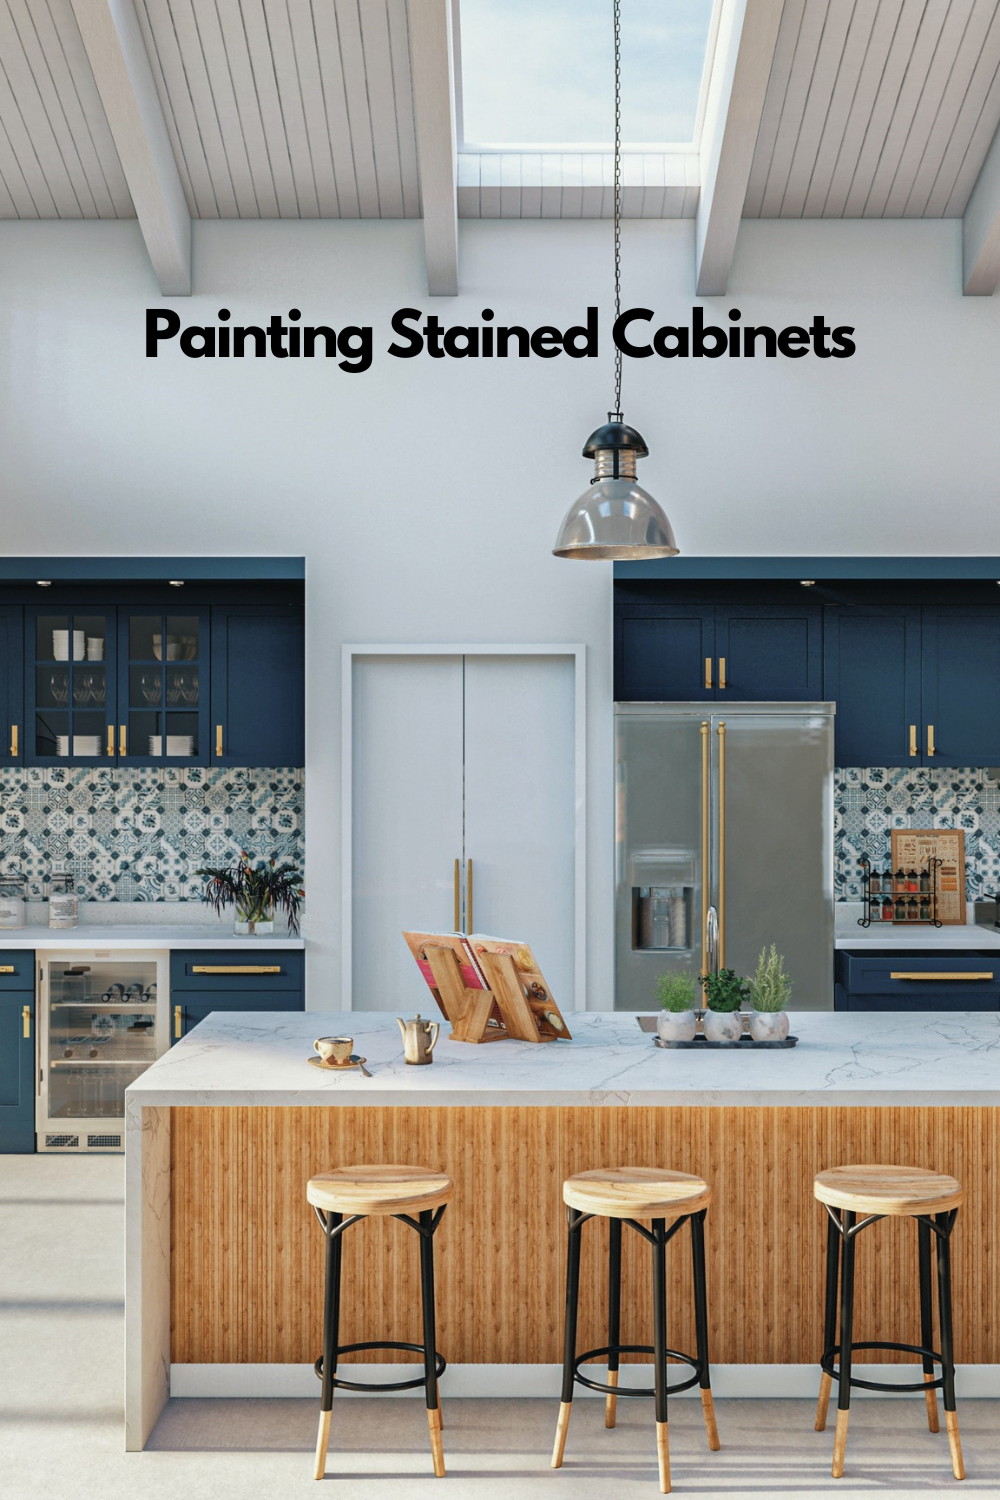
#1: How to Paint Cabinets that are Stained
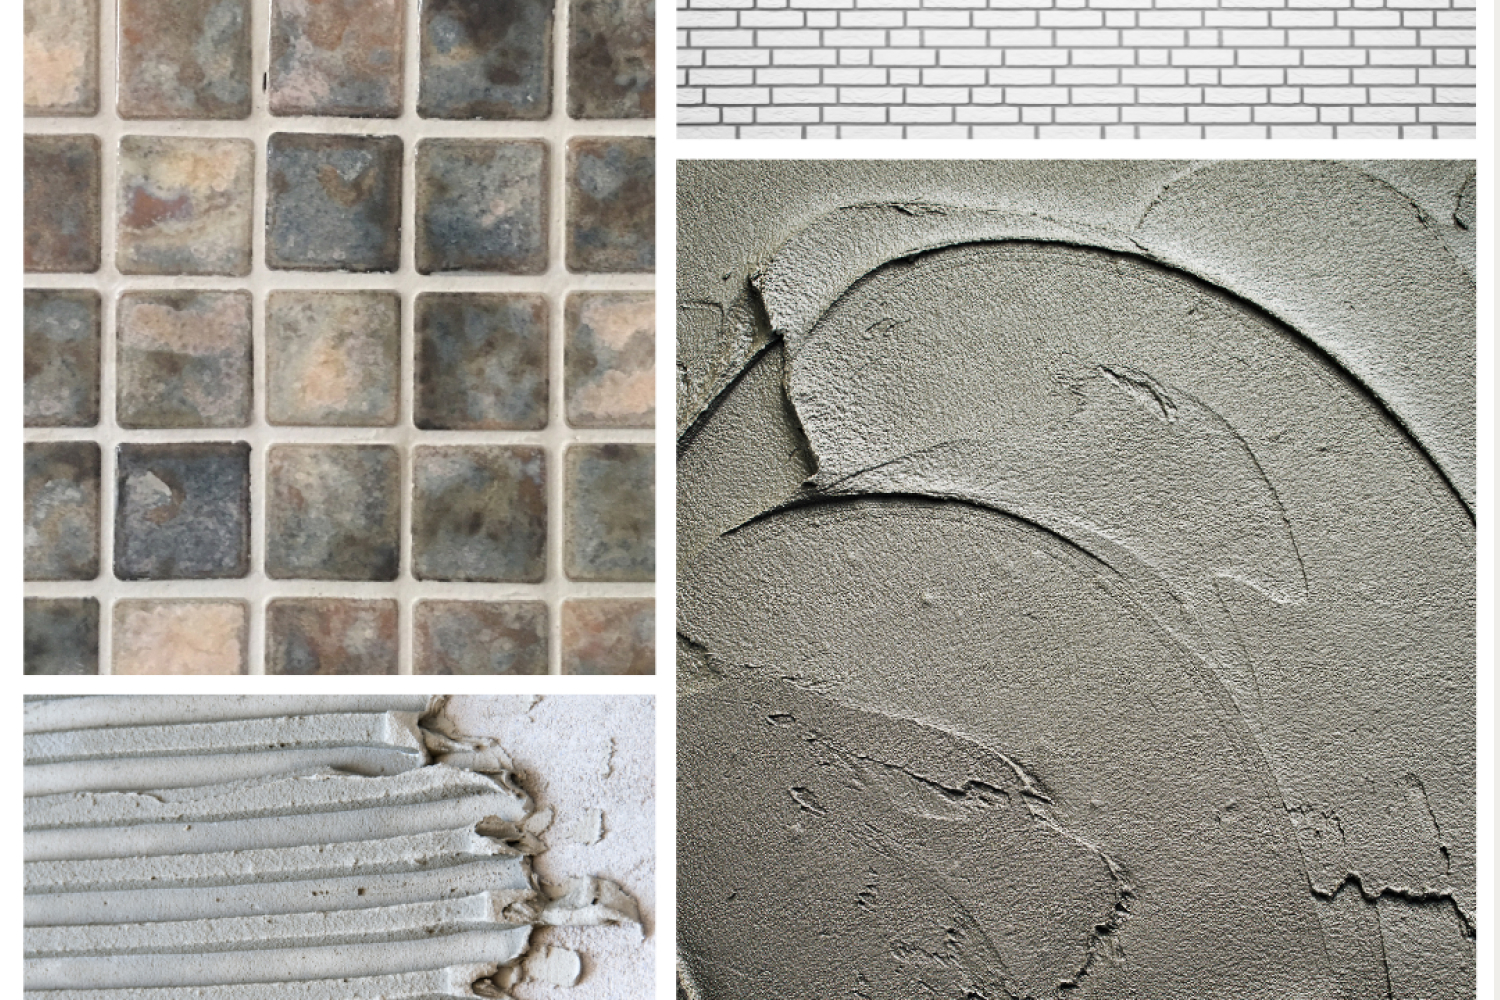
Painting stained cabinets can be a great way to update the look of your kitchen or bathroom without completely replacing them. The process of painting over stained wood can be a bit more involved than painting raw wood, but with the proper preparation and techniques, it can be done successfully.
The first step in painting over a stained bathroom or kitchen cabinet is to clean them thoroughly. Use a degreaser to remove any grease or grime, and sand the surface to create a smooth surface for the paint to adhere to. Next, apply a coat of primer specifically designed for use on wood surfaces. This will help the paint adhere better and reduce the chance of chipping or peeling.
Once the primer is dry, it's time to apply the paint. It's best to use paint that is specifically designed for use on wood surfaces, such as oil-based paint. Use a paintbrush or roller to apply the paint in thin, even coats. Allow each coat to dry completely before applying the next one. Depending on the type of paint you choose, you may need to use a clear coat or sealant to protect the finish.
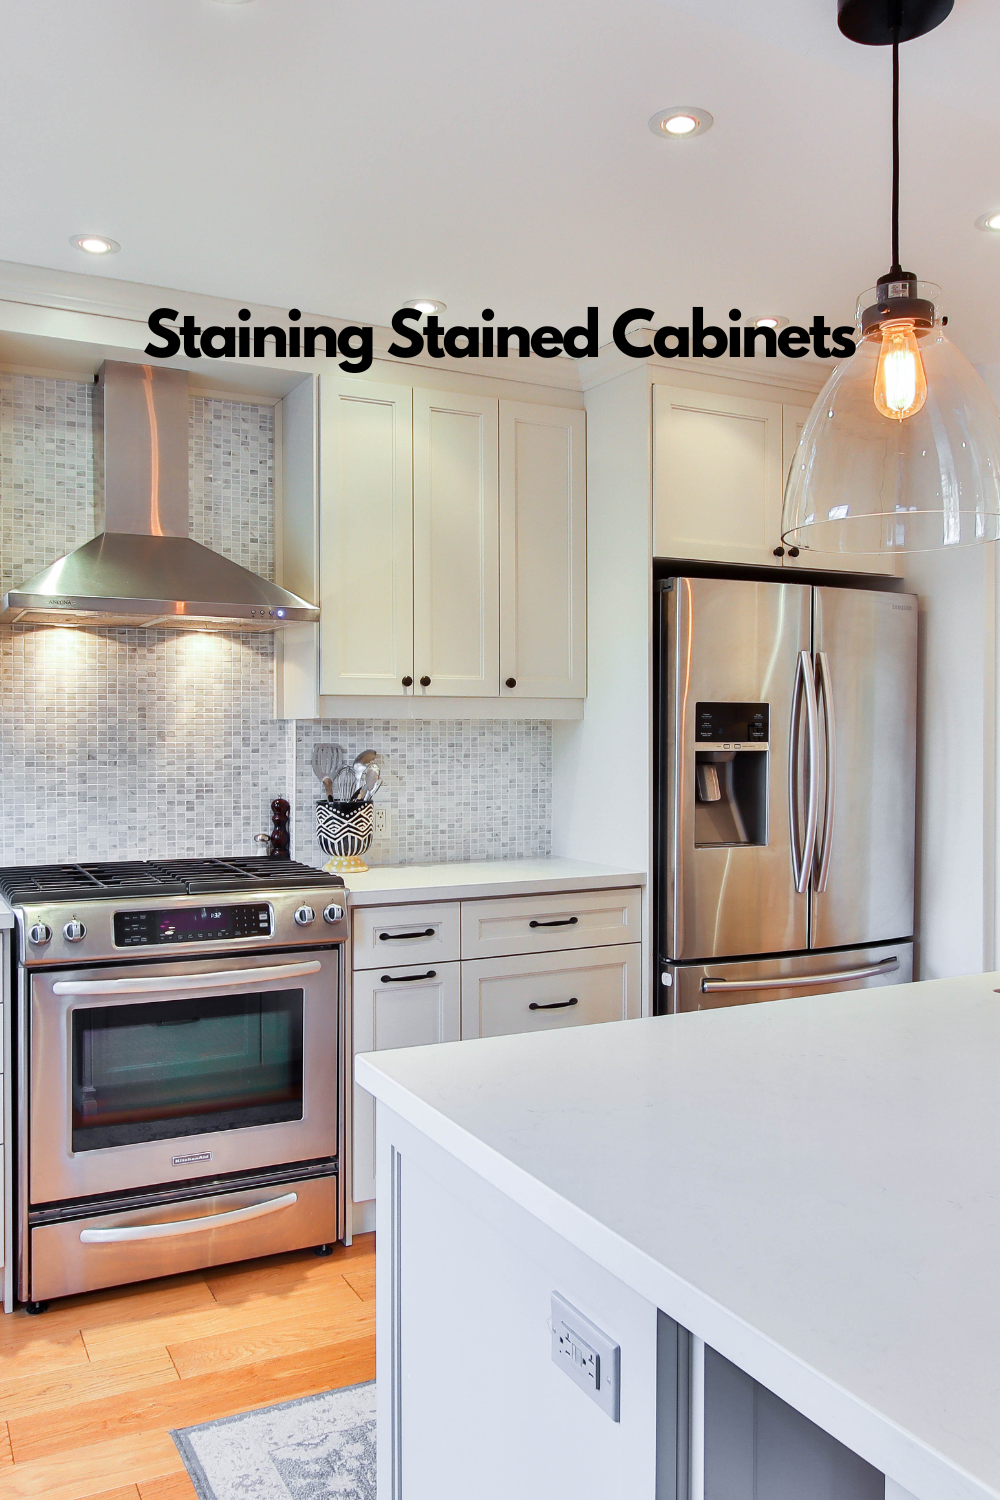
#2: How to Stain Cabinets that are Already Stained
Staining cabinets that are already stained can be a bit tricky, as the existing stain can affect the final color of the new stain. However, with the right techniques, it is possible to achieve a beautiful and cohesive look.
The first step in staining already stained cabinets is to sand the surface. This will remove any glossy finish and create a smooth surface for the new stain to adhere to. Next, clean the cabinets thoroughly to remove any dust or debris.
When applying the new stain, it's important to use a stain that is the same color or slightly darker than the existing stain. This will help to achieve a more cohesive look. Use a brush or rag to apply the stain, working in the direction of the wood grain. Allow the stain to sit for a few minutes before wiping off any excess with a clean rag.
It's important to note that staining over an existing stain can be unpredictable, so it's best to test the new stain on a small, inconspicuous area before committing to the entire project.
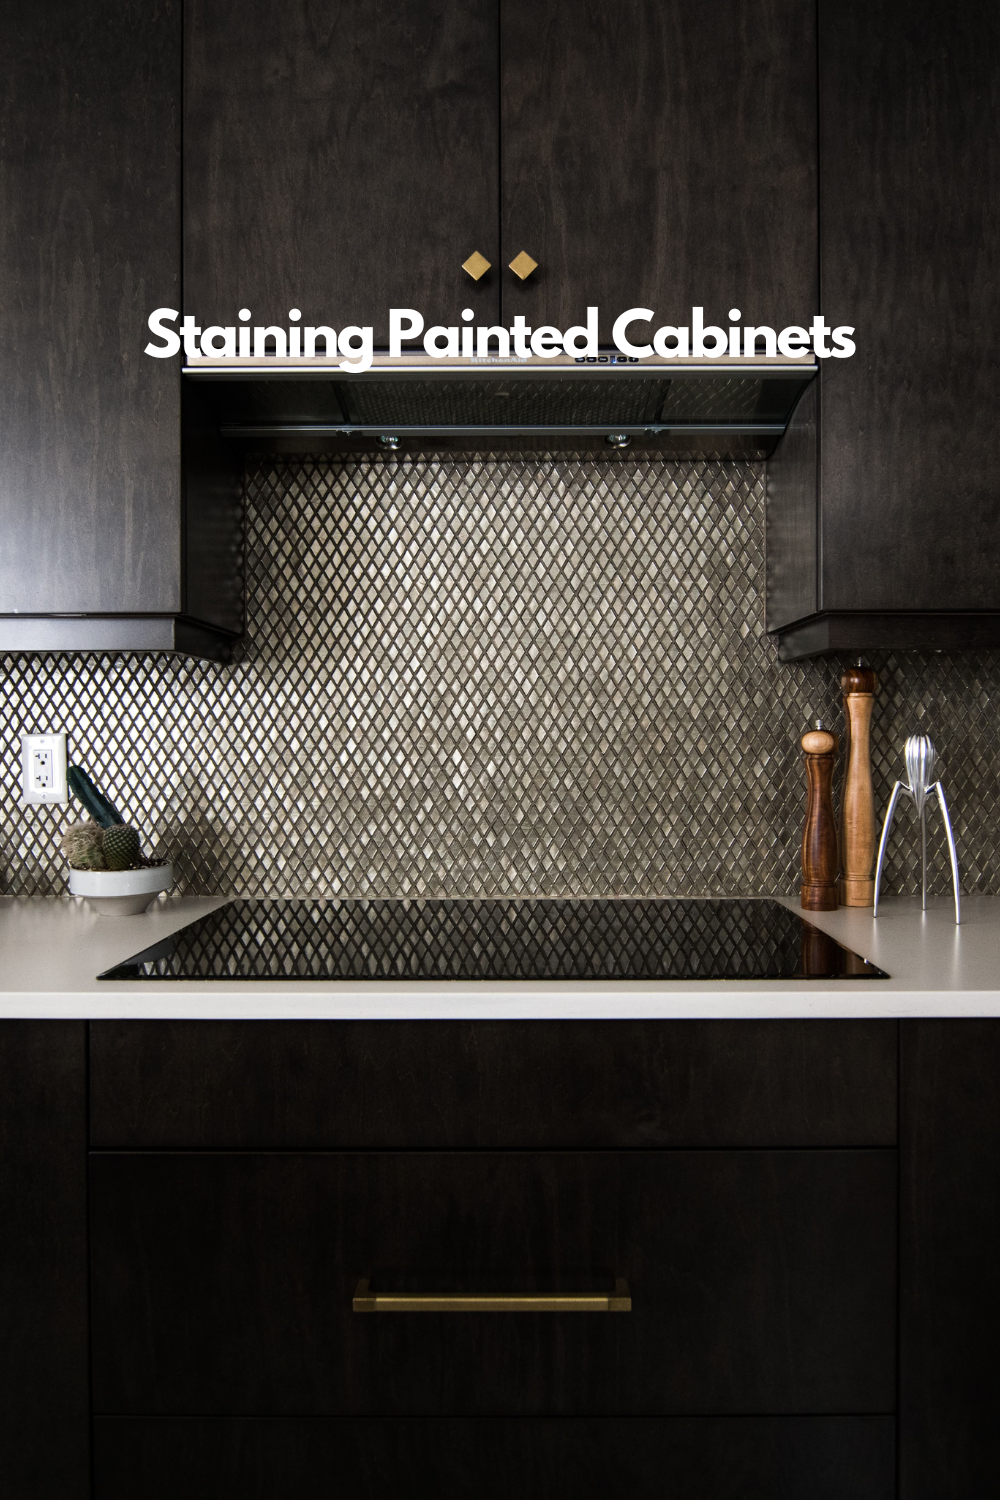
#3: How to Stain Cabinets That are Painted
If you have painted cabinets that you would like to update with a stained wood look, there are a few steps you will need to take to ensure a smooth and professional-looking finish.
First, remove all hardware and doors from the cabinets. Use a paint stripper to remove the existing paint, being sure to follow the manufacturer's instructions and take necessary safety precautions. Once the paint is removed, clean the surfaces thoroughly with a degreaser to remove any grease or grime that may have accumulated over time.
Next, use fine-grit sandpaper to lightly sand the surfaces to create a smooth, even surface for the stain to adhere to. Once the sanding is done, apply a coat of wood conditioner to the cabinets to help the stain absorb evenly. Once the wood conditioner is dry, apply the stain of your choice, making sure to work in the direction of the wood grain.
Allow the stain to dry completely before applying a clear coat of polyurethane to protect the wood and give it a smooth, even finish. Once the polyurethane is dry, reattach the hardware and doors to the cabinets.
Keep in mind that staining cabinets that are already painted may take time and effort, but the end result will be a fresh, updated look that enhances the natural beauty of the wood.
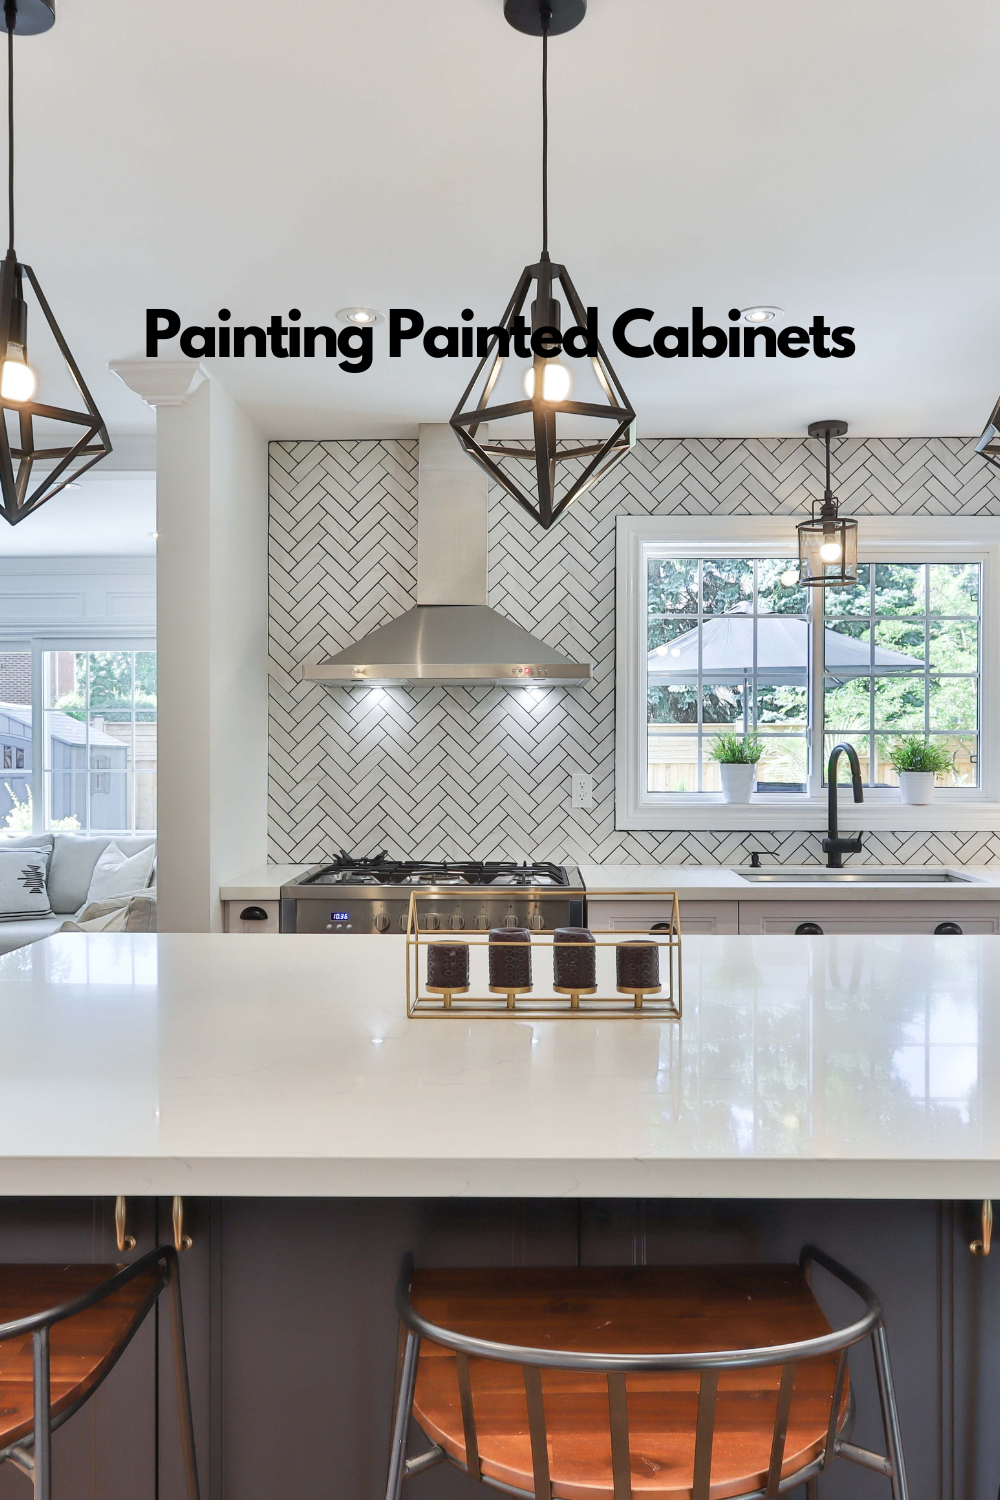
#4: How to Paint Already Painted Cabinets
If your painted cabinets look worn or outdated, but you would like to keep the same color, painting them is a great option. Painting the cabinets will give them a fresh, new look without the need to strip the existing paint.
First, remove all hardware and doors from the cabinets. Clean the surfaces thoroughly with a degreaser to remove any grease or grime that may have accumulated over time. Then, use fine-grit sandpaper to lightly sand the surfaces to create a smooth, even surface for the paint to adhere to.
Next, apply a coat of primer to the cabinets, making sure to cover all surfaces evenly. Allow the primer to dry completely before applying the paint. When choosing a paint, be sure to select a high-quality, water-based paint that is suitable for use on wood surfaces.
Finally, apply at least two coats of paint, allowing each coat to dry completely before applying the next. Once the final coat is dry, reattach the hardware and doors to the cabinets.
Keep in mind that painting already painted cabinets may take some time and effort, but the end result will be a fresh, updated look that can completely transform the space.
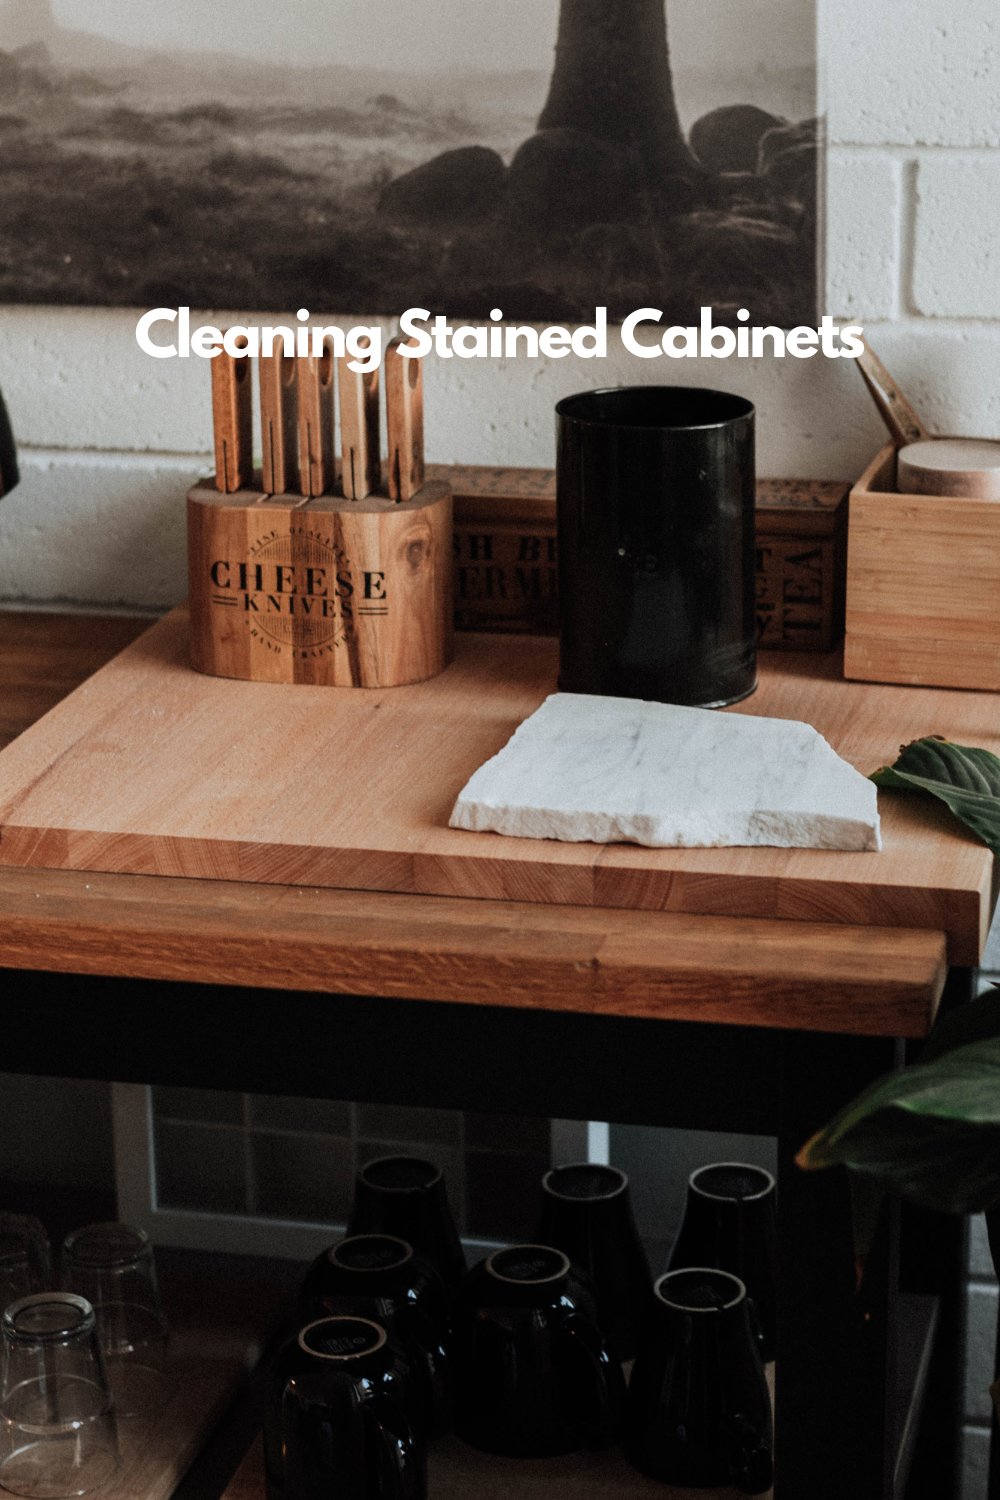
#5: How to Clean Stained Cabinets
Stained wood cabinets can add a warm and natural touch to any space, but they require regular cleaning to maintain their beauty.
Here are a few tips on how to clean stained cabinets:
-
Dust the surfaces regularly with a soft cloth or dusting brush to remove any dirt or dust that may have accumulated.
-
Use a mild, non-abrasive cleaner to wipe down the surfaces. Avoid using harsh chemicals or abrasive sponges that can damage the wood or the finish.
-
For tough stains or grime, mix equal parts of white vinegar and water to create a cleaning solution. Use a soft cloth to apply the solution and wipe away the stain.
-
Use a wood-specific cleaner to maintain the finish and protect the wood from damage.
-
To maintain the shine and luster of the wood, use furniture wax or polish specifically designed for wood surfaces.
It's also important to remember that not all stains are created equal, and it's best to check with the manufacturer's instructions on how to clean and maintain your specific stain.

#6: How to Clean Painted Cabinets
Painted cabinets can add a clean and modern look to any space and are generally easier to clean and maintain than stained wood cabinets.
Here are a few tips on how to clean painted cabinets:
-
Dust the surfaces regularly with a soft cloth or dusting brush to remove any dirt or dust that may have accumulated.
-
Use a mild, non-abrasive cleaner to wipe down the surfaces. Avoid using harsh chemicals or abrasive sponges that can damage the paint or the finish.
-
For tough stains or grime, mix equal parts of white vinegar and water to create a cleaning solution. Use a soft cloth to apply the solution and wipe away the stain.
-
To maintain the shine and luster of the paint, use furniture wax or polish designed specifically for painted surfaces.
-
If the paint on your cabinets looks worn or outdated, it may be time for a new paint job. This will refresh the look of the cabinets and make them look new again.
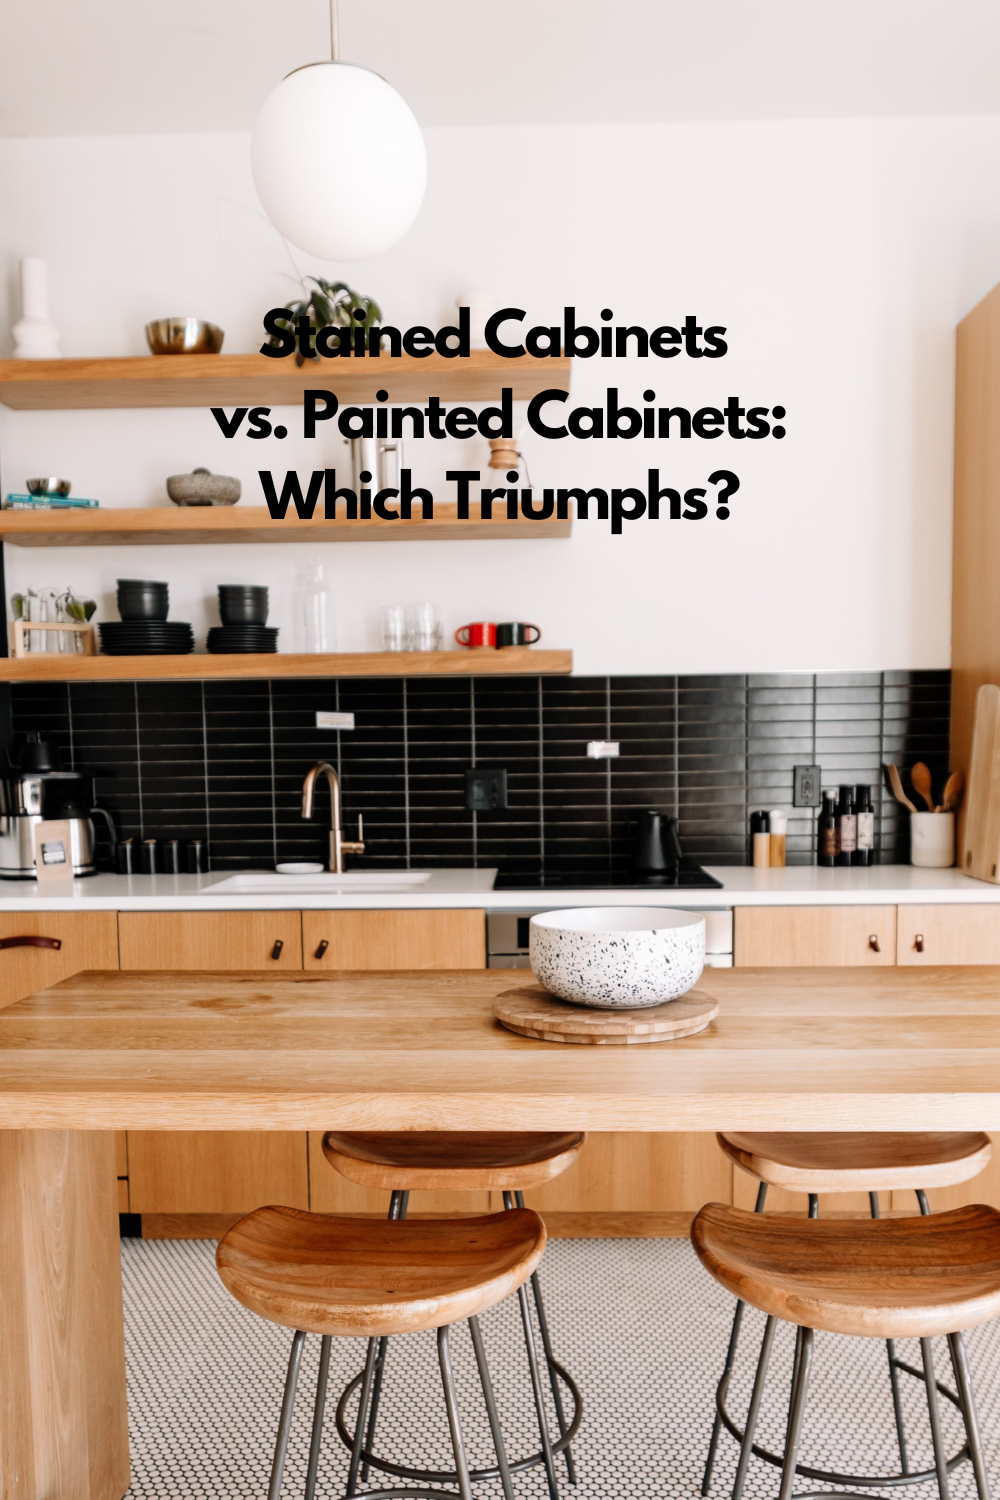
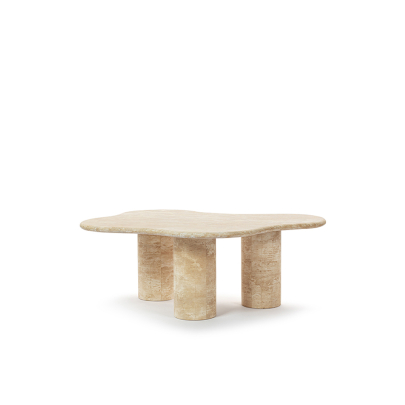
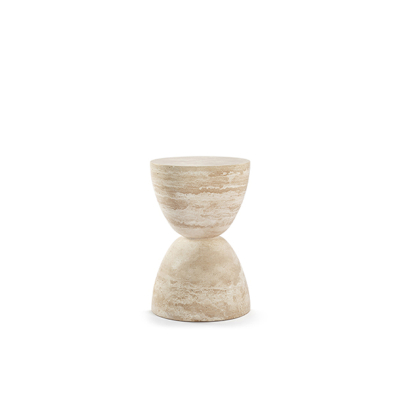
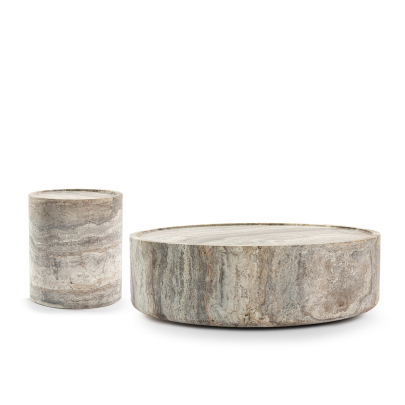
In conclusion, whether you choose stained wood cabinets or painted cabinets, both options can provide a unique and beautiful look for your kitchen or bathroom. Stained wood cabinets offer a natural and warm look, showcasing the beauty of the wood grain, while painted cabinets can provide a clean and modern look with a wide range of color options. Whether you're looking for a mid-century modern kitchen, a modern travertine dining table, or minimalist bar stools, we're sure that either stained or painted cabinets would be wonderful choices that easily match an array of kitchen designs and styles. Both options require proper preparation and application for a professional-looking finish, and both need regular cleaning and maintenance to keep them looking their best. Ultimately, the decision between stained wood cabinets and painted cabinets comes down to personal preference, the desired aesthetic for the space, and the level of maintenance you are willing to commit to.
*This guide is provided as a general how-to guide, some of the steps may vary depending on the manufacturer. Always read and consult the provided manufacturer’s guide before proceeding.